
Moodle is one of the best learning management systems available. It’s an open software, released under the open source ‘GNU General Public License’ which makes it highly flexible and customizable. In this guide you will learn how to install Moodle on Ubuntu server 20.04/22.04.
We are installing Moodle on a brand new, clean Ubuntu server with no software or data on it. If your server has data on it - make data backup first. Author is not responsible for possible data loss.
Before You Begin
Check out our hosting service for Moodle community edition. You can start using the LMS without need to install it!
Pre-requirements
- Install a VPS server with Ubuntu 22.04 on it
- Get a fully-qualified domain name pointing to your server’s IP address, such as “moodle.example.org”
For examples in this guide we will use domain moodle.example.org, change it to your own domain name.
Preparing Ubuntu server for Moodle Installation
Update the system
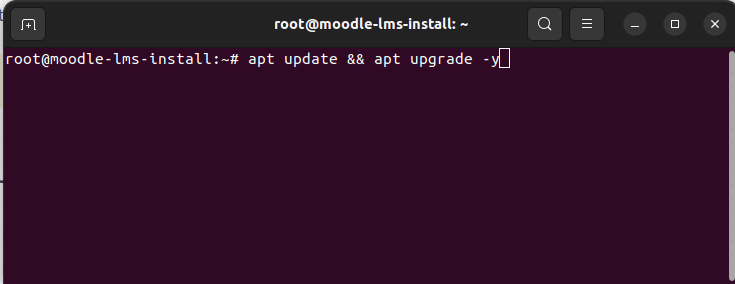
First thing first – updating the system. To get started connect to your server via SSH. Then run “apt update” and “apt upgrade” commands to update system packages to the latest version.
$ sudo apt update && apt upgrade -y
Install Apache, PHP-8.1, MariaDB MySQL server
Next install Moodle dependencies. We need to install Apache web server, PHP 8.1, MariaDB SQL server, mail server and a list of PHP extensions required by Moodle.
$ sudo apt install apache2 php8.1 mariadb-server postfix
$ sudo apt install php8.1-mysql php8.1-fpm php8.1-iconv php8.1-mbstring php8.1-curl php8.1-tokenizer php8.1-xmlrpc php8.1-soap php8.1-ctype php8.1-zip php8.1-gd php8.1-simplexml php8.1-xml php8.1-intl
When installation is completed start apache web server.
$ sudo systemctl start apache2
$ sudo systemctl enable apache2
Configure Apache VirtualHost and PHP-FPM
We will be running Moodle 4.2 on Apache and PHP-FPM. On the next step we will configure PHP-FPM for Apache.
1. Start PHP-FPM service and enable it on boot.
$ sudo systemctl start php8.1-fpm
$ sudo systemctl enable php8.1-fpm
2. To use PHP-FPM with Apache we need to enable proxy_fcgi and proxy modules.
sudo a2enmod proxy_fcgi proxy
3. Create Apache configuration file for Moodle.
$ sudo nano /etc/apache2/sites-available/moodle.conf
Enter the following configuration into the moodle.conf. Replace ServerName, DocumentRoot, Directory with your values.
<VirtualHost *:80>
ServerName moodle.example.org
ServerAlias www.moodle.example.org
DocumentRoot /home/moodle/public_html

<Directory /home/moodle/public_html>
Options -Indexes +FollowSymLinks +MultiViews
AllowOverride All
Require all granted
</Directory>

<FilesMatch \.php$>
SetHandler "proxy:unix:/run/php/php8.1-fpm.sock|fcgi://localhost/"
</FilesMatch>

ErrorLog ${APACHE_LOG_DIR}/error.log
CustomLog ${APACHE_LOG_DIR}/access.log combined
</VirtualHost>
Save and close the file with CTRL+X, then Y, then Enter.
4. Enable new virtual host and reload Apache web server.
$ a2ensite moodle
$ systemctl reload apache2
5. Also it’s nice to have a rewrite and SSL modules enabled
# a2enmod rewrite
# a2enmod ssl
# systemctl restart apache2
Create database and a database user
1. Start and enable MariaDB SQL server
root@moodle-lms-install:~# systemctl start mariadb
root@moodle-lms-install:~# systemctl enable mariadb
2. Create MySQL user and database
root@moodle-lms-install:~# mysql
MariaDB [(none)]> create database moodle_dev;
MariaDB [(none)]> grant all privileges on moodle_dev.* to moodle_user@localhost identified by 'Change_to_Strong_SQL_Password';
MariaDB [(none)]> flush privileges;
Once we have Apache, PHP and MySQL configured we can proceed with installing moodle code.
Install Moodle Code
1. Create a home directory for Moodle site and public directory
$ useradd --create-home -s /bin/sh moodle
$ mkdir -p /home/moodle/public_html
$ chmod 711 /home/moodle
2. Download the latest Moodle code and extract it into the public directory.
You can download latest moodle from https://download.moodle.org/releases/latest/. Get the code and upload it into the public directory. In our case the directory is “/home/moodle/public_html”
Run the Installation in Browser
Before you proceed to this final step you need to point your domain name to the IP address of your server. When DNS is configured your can run Moodle installation in a browser.
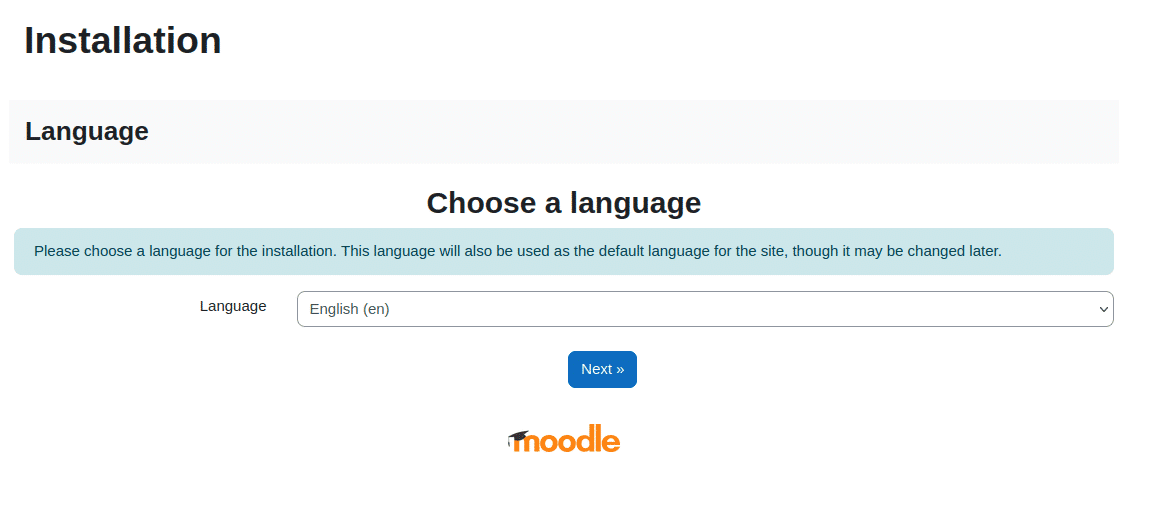
1. Open your browser and navigate to your Moodle’s site domain/sub-domain. You should see Moodle Installation page.
2. Choose website’s language. We will keep English.
3. Confirm paths
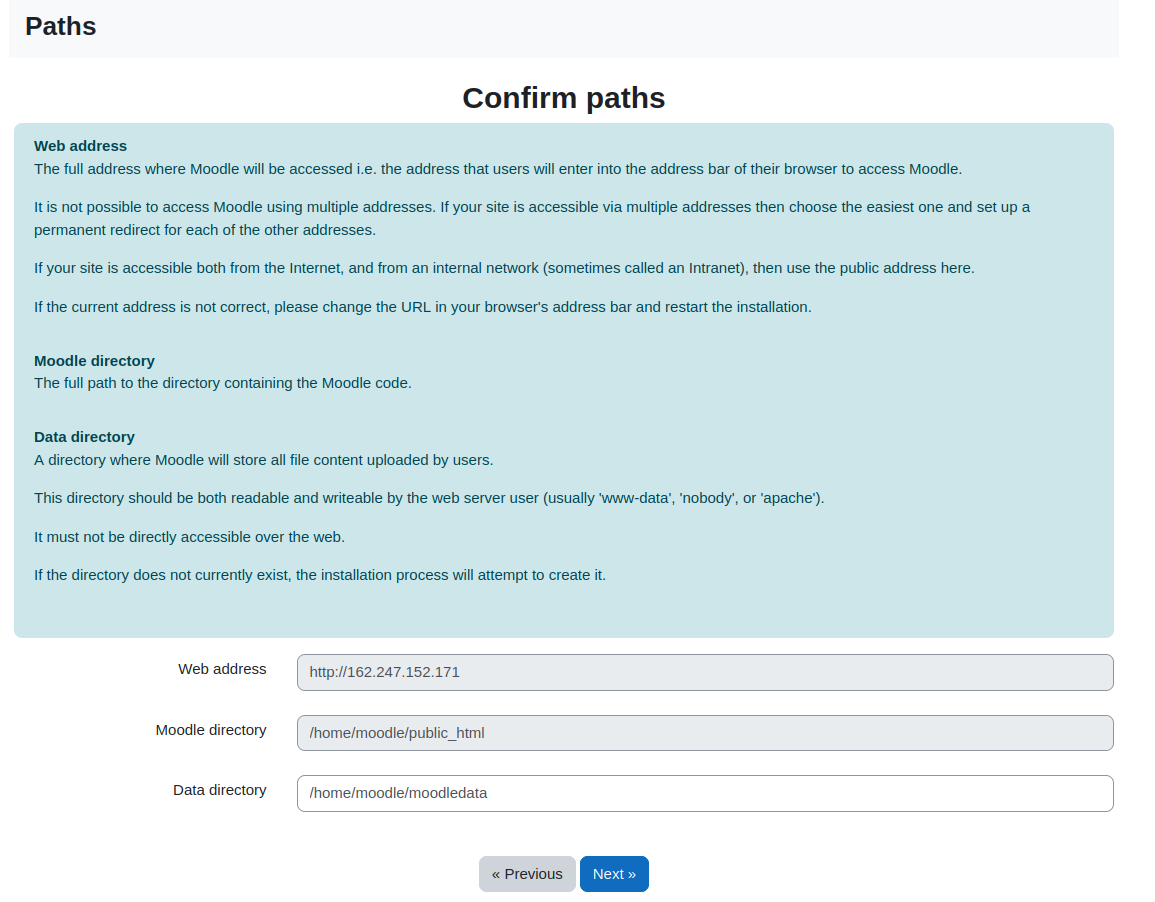
On the next step confirm that web address, moodle directory and data directory are correct. Data directory was missing in our installation, so we created it on this step.
# mkdir /home/moodle/moodledata
# chown www-data:www-data /home/moodle/moodledata
4. Choose a database server
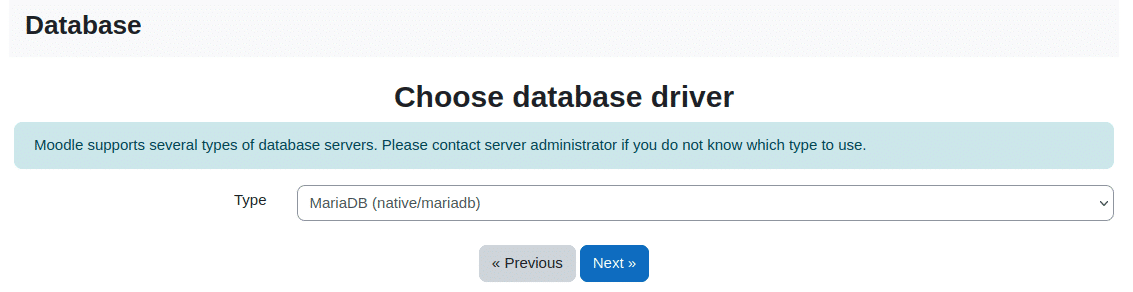
We use MariaDB for this guide. Select MariaDB from the dropdown menu.
5. Enter database settings
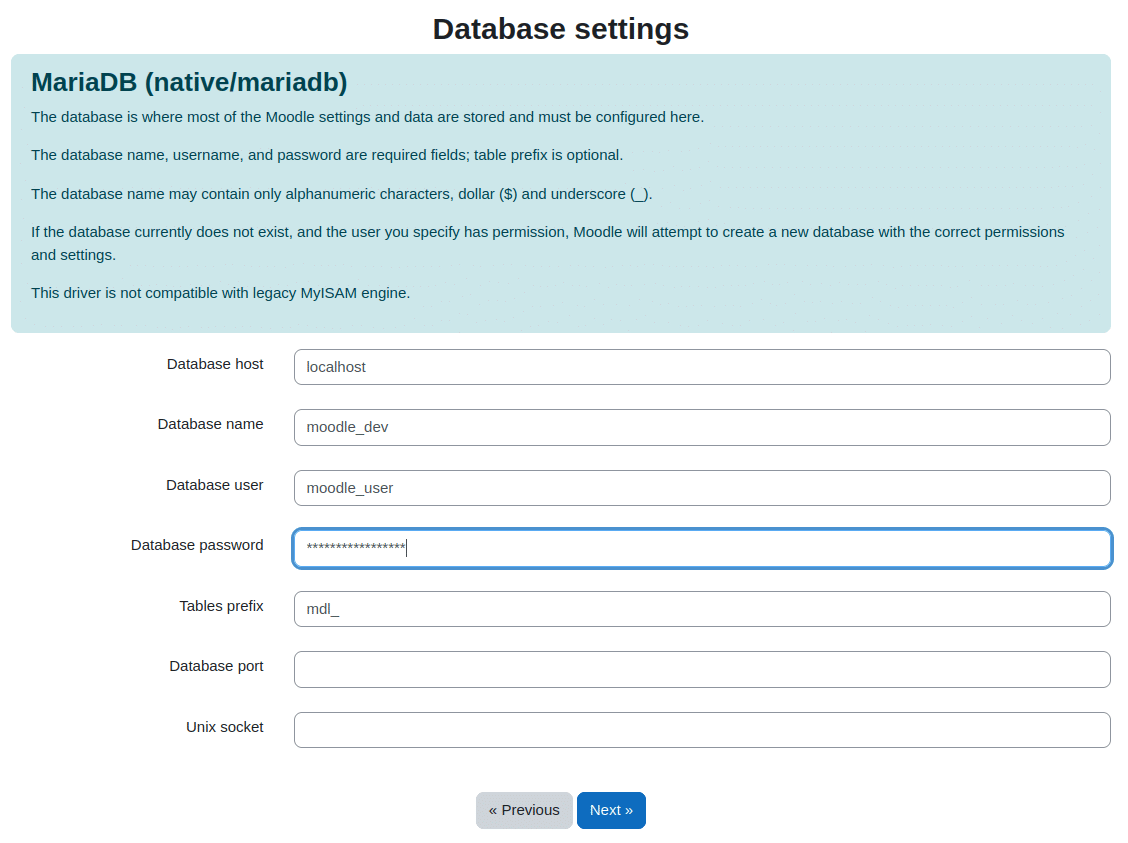
Input database name, database user and password that we created earlier.
6. Create config.php file
After entering database settings and clicking “Next” a config.php file will be generated. Copy content of the file and create “config.php” in the root moodle directory (/home/moodle/public_html in this example).
7. Accept License
You have to read and accept Moodle license agreement on this step.
8. Pass server checks
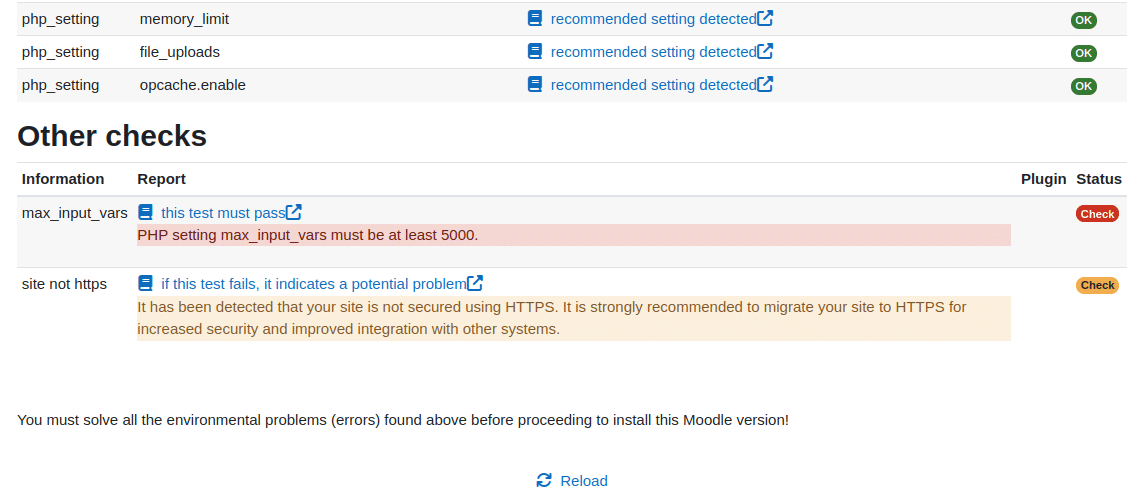
Most of the checks passed in our installation. We only had to change “max_input_vars” from its default value to 5000.
$ nano /etc/php/8.1/fpm/php.ini
$ systemctl reload php8.1-fpm
9. Configure your main administrator account
On this step you should configure the administrator account. Enter administrator username, password, and other required details.
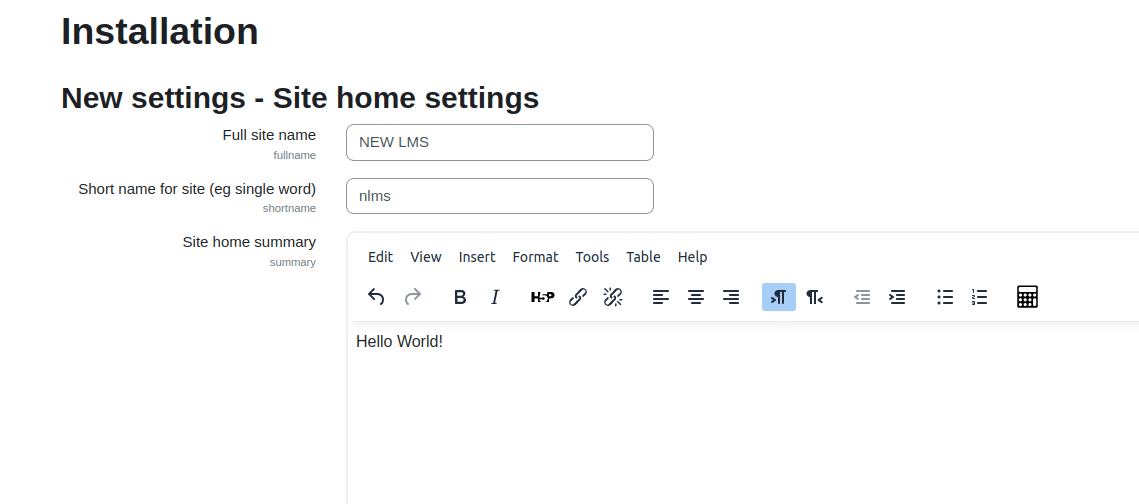
10. Enter site home settings
Configure site name, short name for the site, Site home summary and other info.
Create your first course!
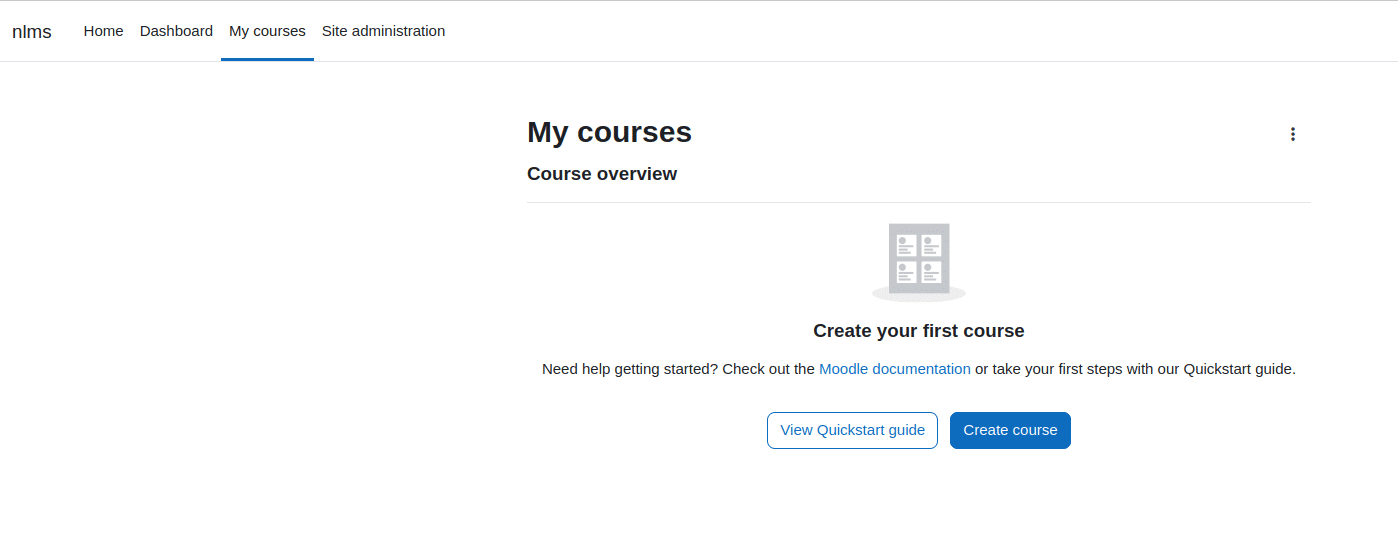
After few final clicks you will see the LMS dashboard and Calendar. Proceed to “My Courses” tab and create your first Moodle course! Well done!